
Fantasy Character Guide
This simple and straightforward guide covers a technique that enables you to create characters in various styles using Dall-E.
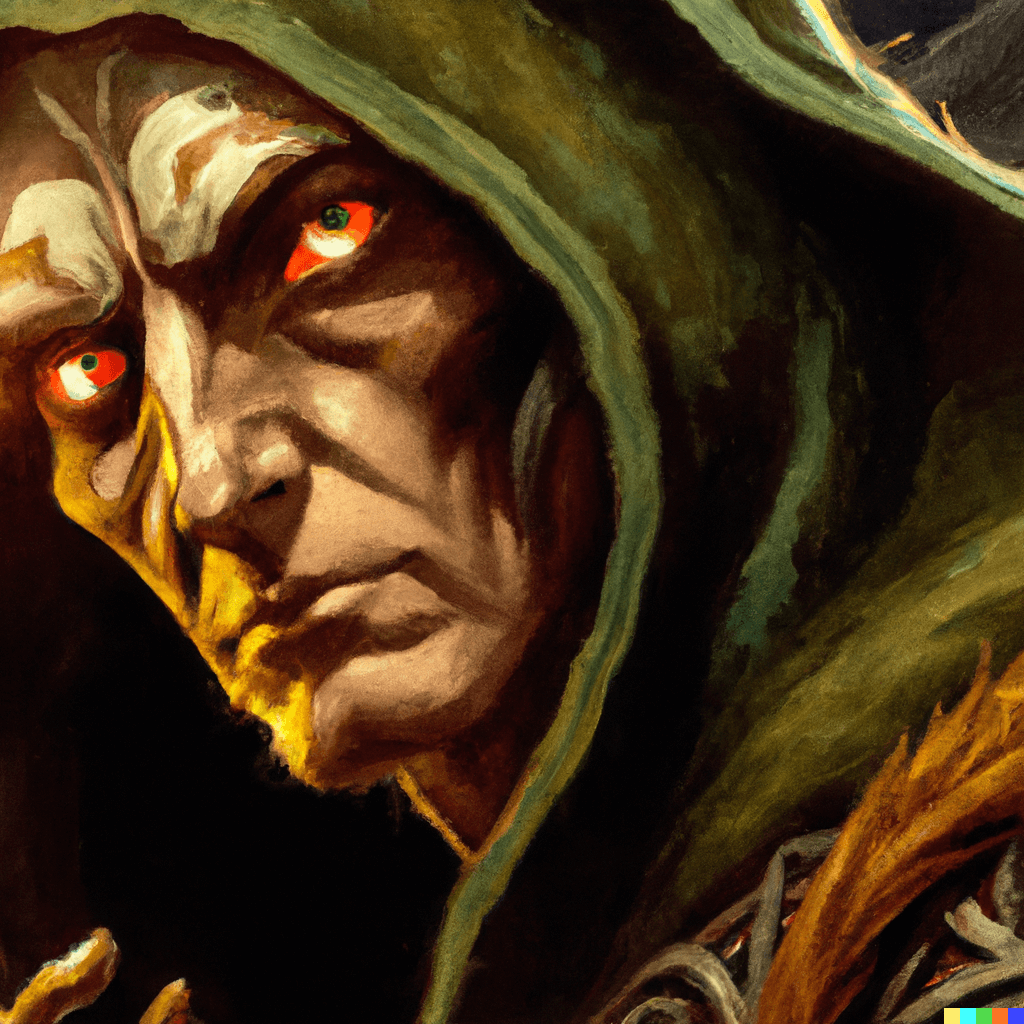
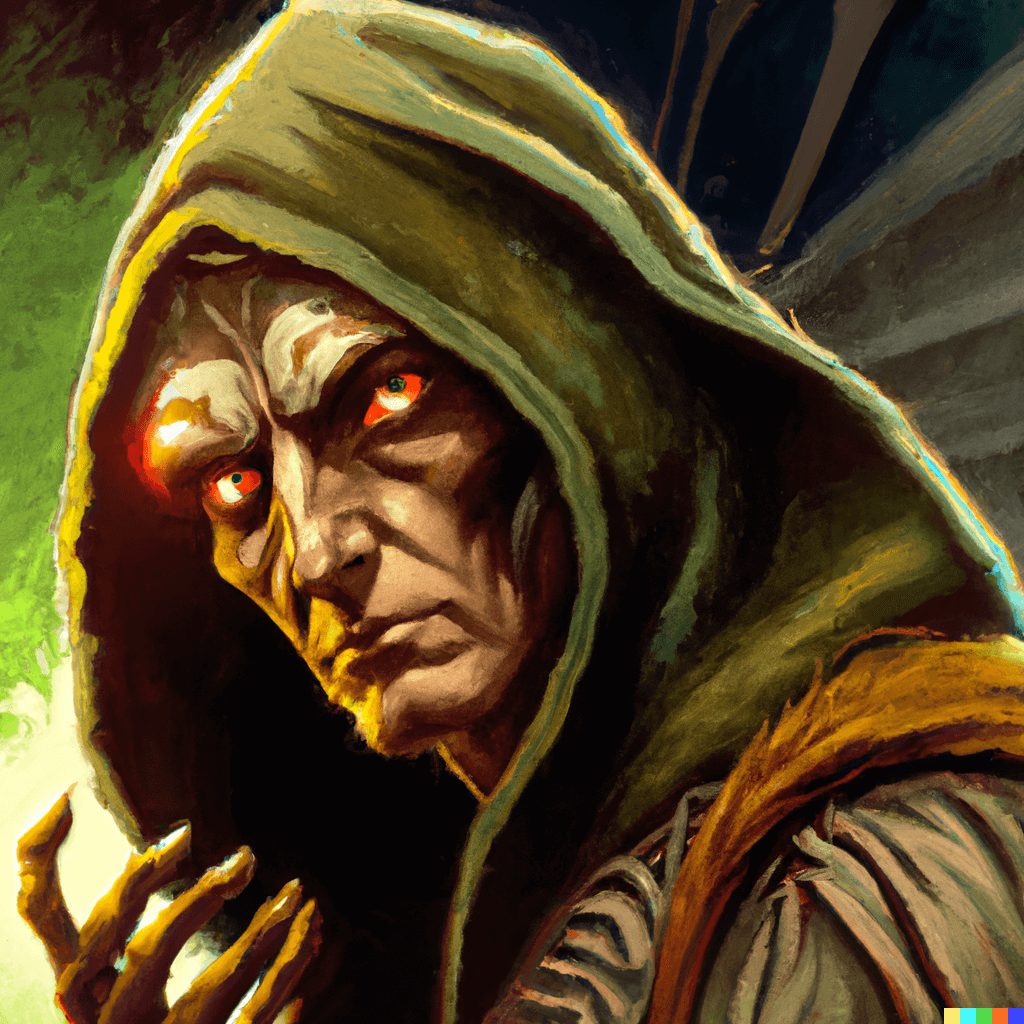
Step 1: We need a base prompt to start building our characters. A portrait is a good option as it provides us with a small base to work with and we can add more elements later. For this guide, we will create a druid.
"Very detailed Dungeons and Dragons concept art portrait painting of a Dark Druid. Hooded and sinister, red eyes, oil portrait painting, head and shoulders, painted by Frank Frezetta, fantasy, highly detailed"
To achieve a portrait-like image as the output, it's important to include specific keywords in the prompt. Emphasizing "portrait" and adding "head and shoulders" can be particularly helpful. (The words in bold are crucial for achieving the portrait painting format we desire.)
Step 2: The next step is to resize the image and make it smaller. For this example, we will reduce the size of the original image, which is 1024x1024px, by about 35%, resulting in an image that is roughly 665x665px.
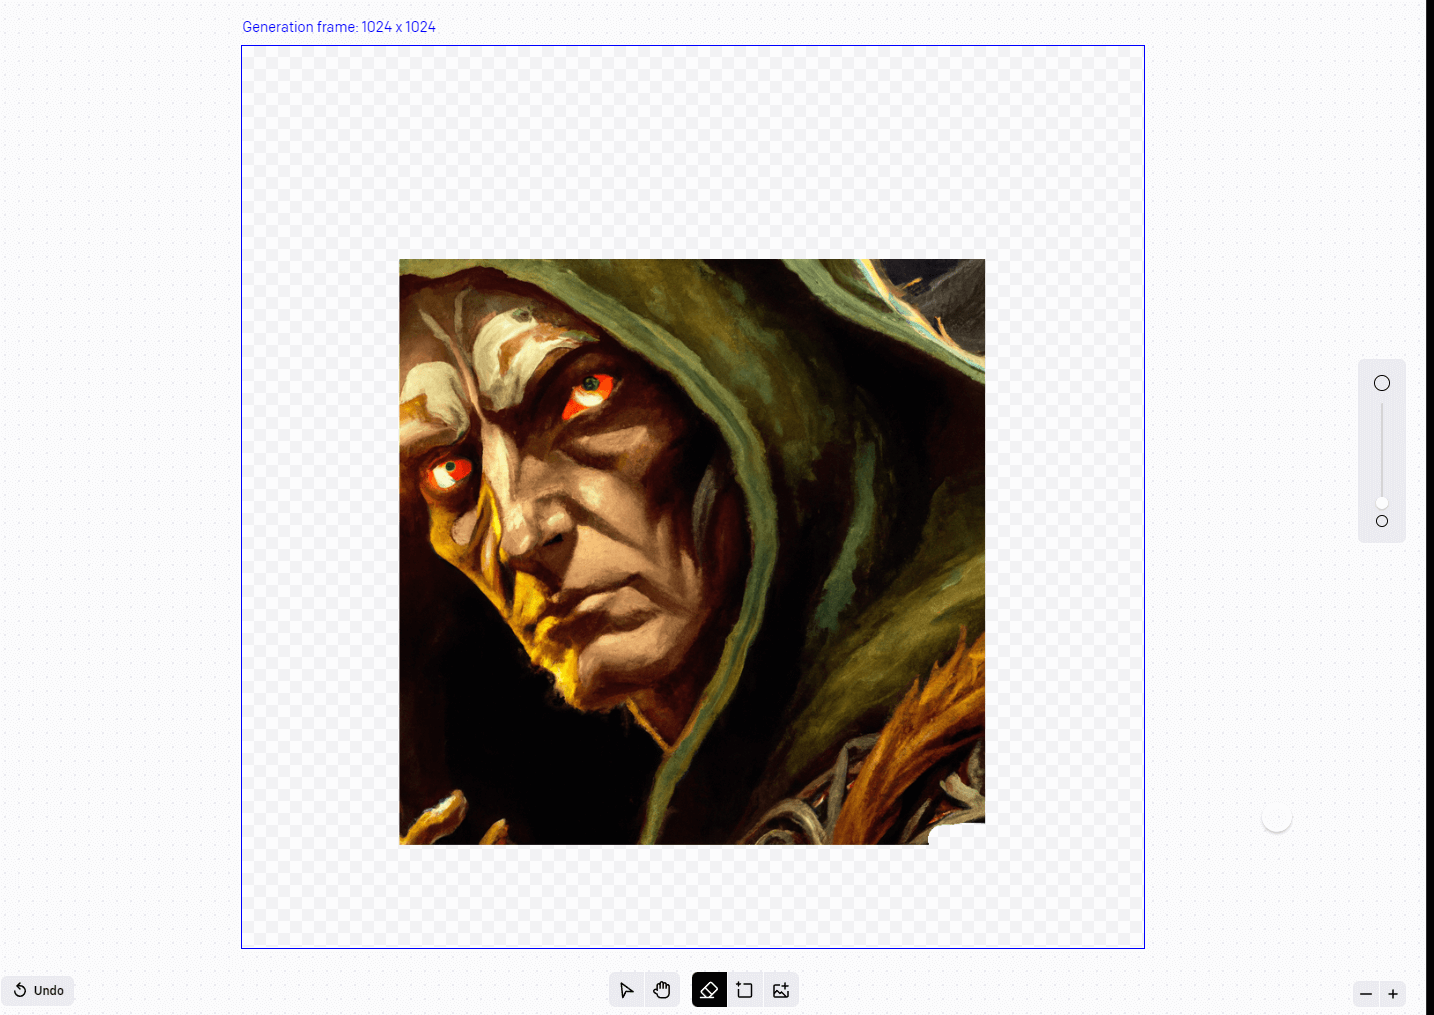
Step 3: After reducing the size of the image, we can upload it into Dall-E (skip cropping) to add padding around it.
We can then position the frame where we think it will work best for our character. In this example, we will add some extra padding above the head to allow for a larger hood.
It's essential to remove the Dall-E watermark before generating an image, as Dall-E will otherwise include it in the design which may not be desirable.
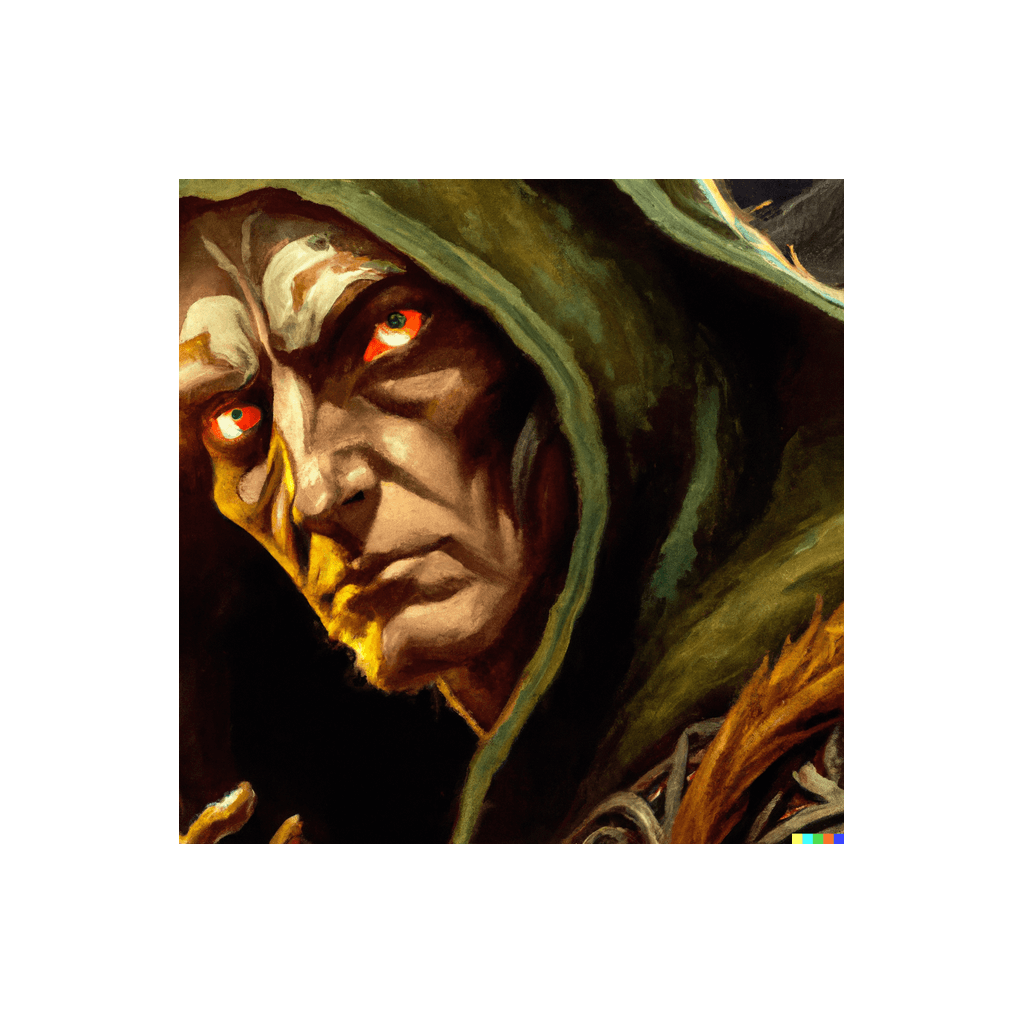
Step 4: Now that we have our padded image in the editor, we need to provide a prompt for Dall-E to use. We will use a prompt similar to the one we used before, but with some slight modifications.
"Very detailed Dungeons and Dragons concept art painting of a Dark Druid. Hooded and sinister, red eyes, oil painting, painted by Frank Frezetta, fantasy, highly detailed"
It's important to note that the prompt we are using is almost the same as the original prompt. We have removed all the items in bold that were related to the portrait, as we no longer need them.
Step 5: Now that we have completed the full portrait of our character, we can use out-painting techniques to further customize it to our liking.
In out-painting we will adjust the position of the frame to expand the character. In our example, we want to see more of the character's robe, so we moved the generation frame below the original image, slightly overlapping the image in the editor.
"Very detailed Dungeons and Dragons concept art painting of a Dark Druid's robes. long and ornate, scary dark magic dust all around, oil painting, painted by Frank Frezetta, fantasy, highly detailed"
Notice we are no longer mentioning the face of the character in the prompt as it is not included in the generation frame. When creating prompts, it's helpful to only mention the elements that we want to appear in the final image.
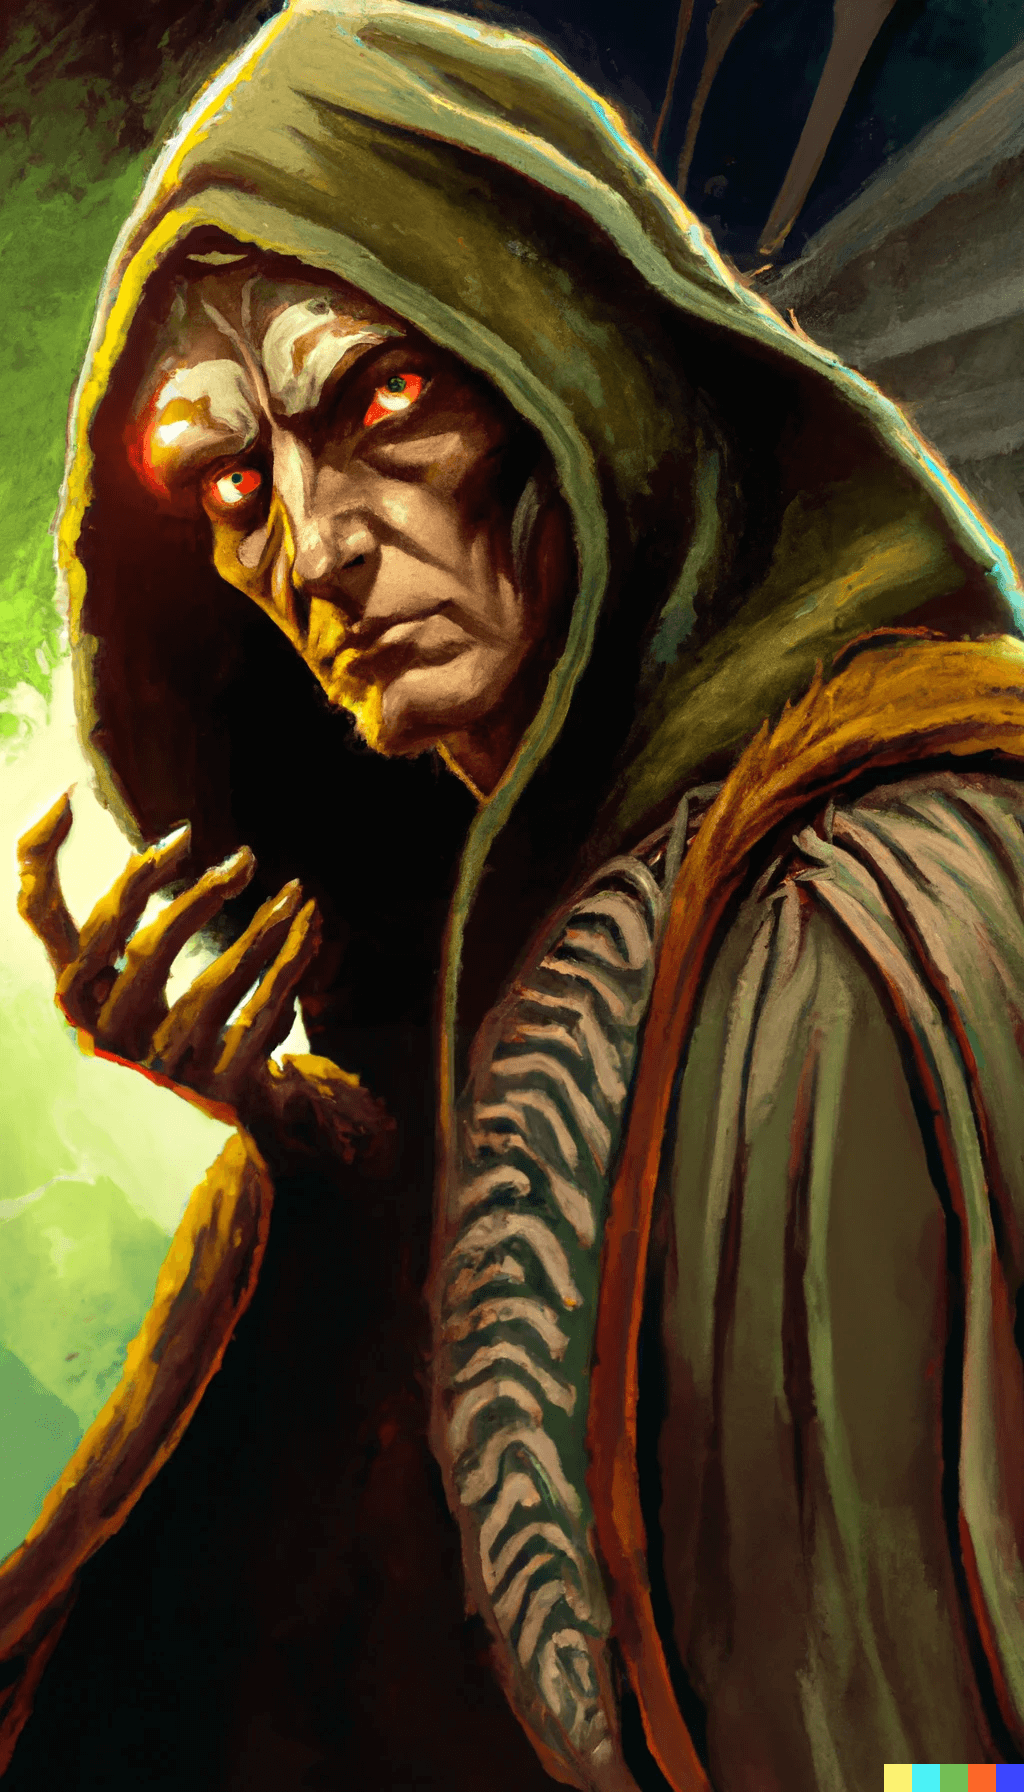
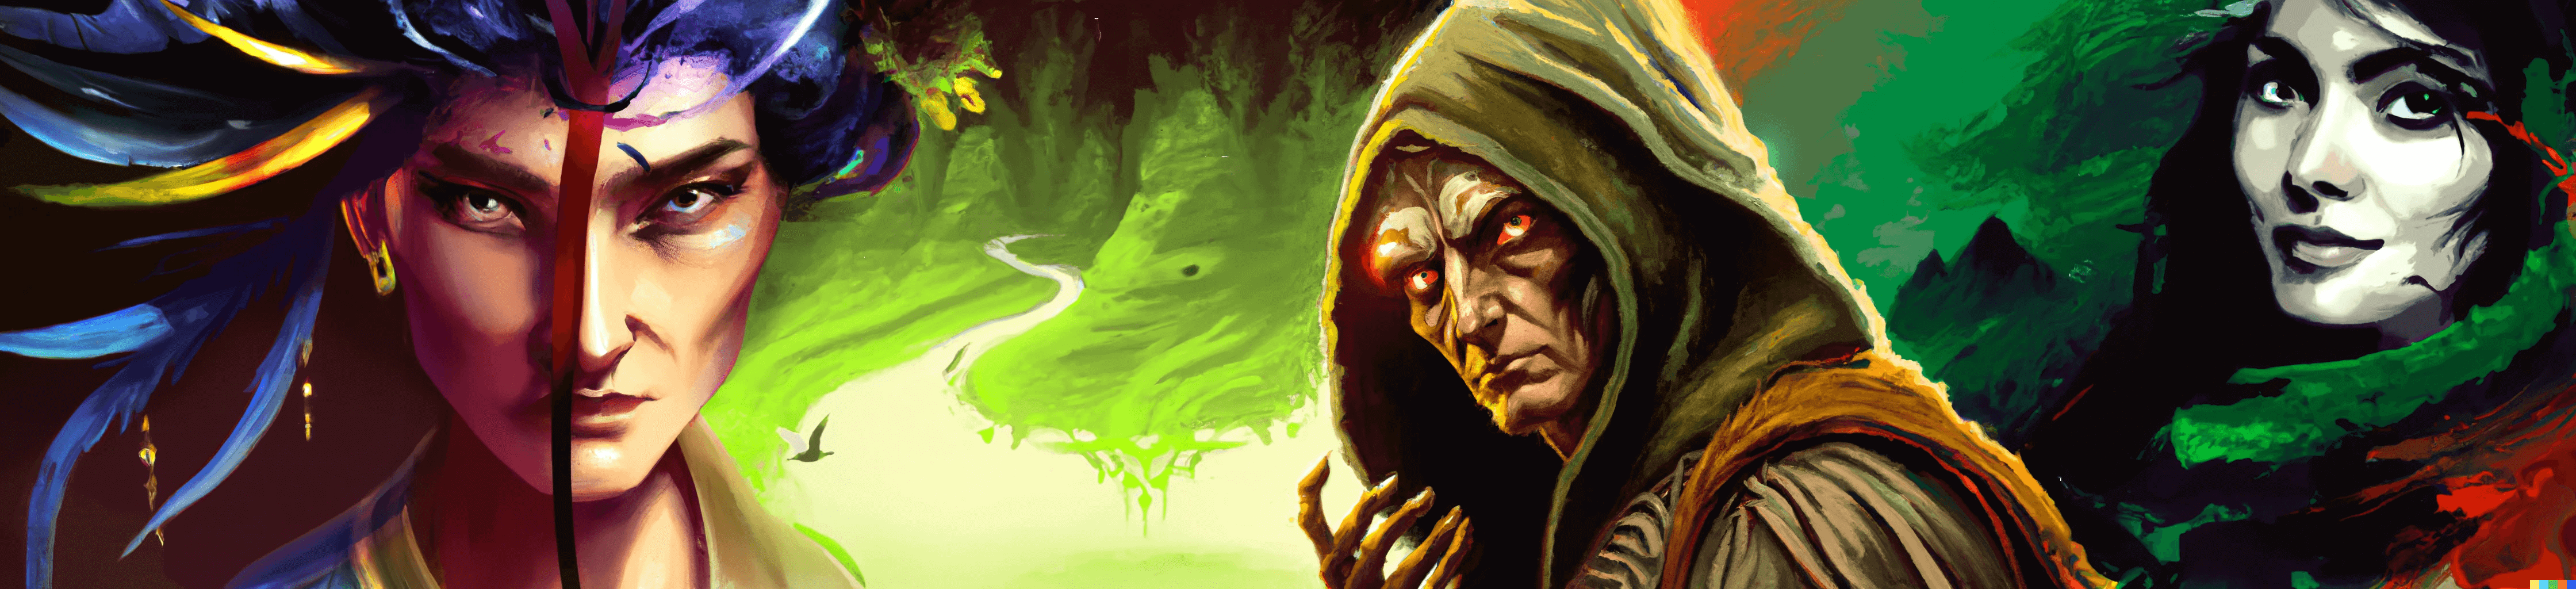
And congratulations, you have completed your character creation!
By changing the prompts used in this technique, you can create characters in various styles. We hope this guide has been helpful and inspires you to create exciting new characters using Dall-E!
Dinosaur Oatmeal
01/07/2023